How to create email accounts via CPanel
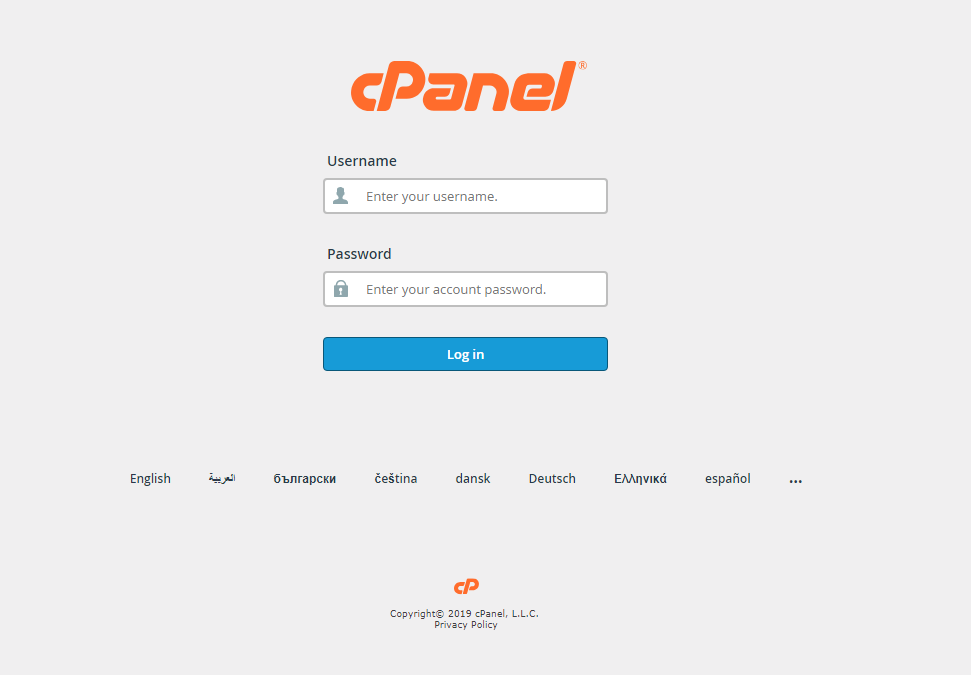
During your business venture, you might need a corporate emails along the way. We can do so with CPanel. Firstly, you need to login to CPanel and navigate to email tabs. Click on Email Accounts.

In this new page, you can see a create button. Click on the create button and it will bring you to the email creation page.

You may set the password or the mailbox quota in this page. Fill in all the necessary details as per requested. On a side note, I would recommend to generate the password using the default password generator as it could increase the complexity of the passwords and make it even secure. For the email account quota, I do recommend putting 1 GB for 3-5 email accounts is sufficient for your business usage. The rest of the disk space quota can be used for other purposes such as image, video and file storage. Click create account and you’re good to go.
Your newly created email account would appear in the table which you can manage them in the future. Besides, once your email account is created, you may access to the web mail via www.yourdomain.com/webmail with the email account and password that you’ve inputted previously.
This is the method on how you create business emails for your corporate usage which is fairly simple and easy. If you have any issues in creating your business emails, you may send an email to [email protected].
- How Long Does SEO Take to Show Results in Malaysia? - July 1, 2026
- Web Design Pricing Malaysia: SME Guide - June 28, 2026
- Digital Marketing Agency Malaysia - June 28, 2026